Hey there.
A couple of months ago, I built my new handwired mechanical keyboard.
Here is the final result:
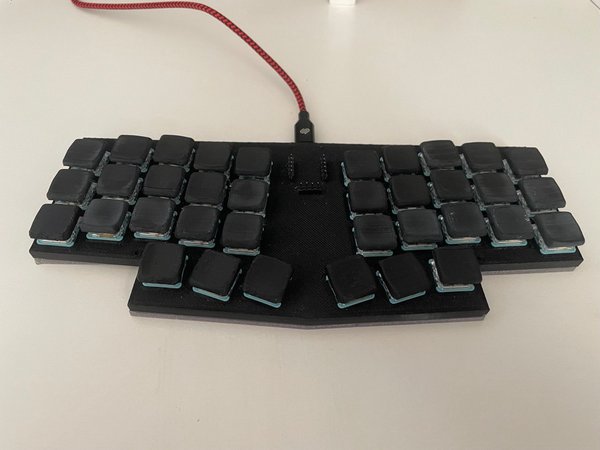
This keyboard is my second handwired keyboard. Today, I want to talk about the physical part of this keyboard.
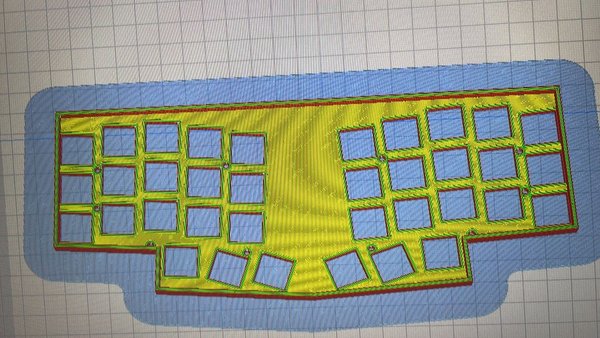
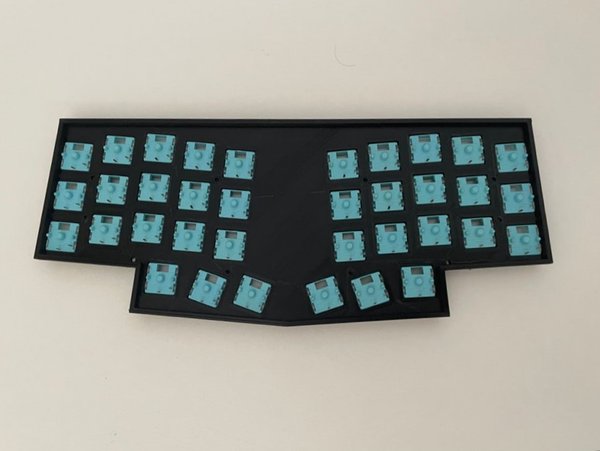
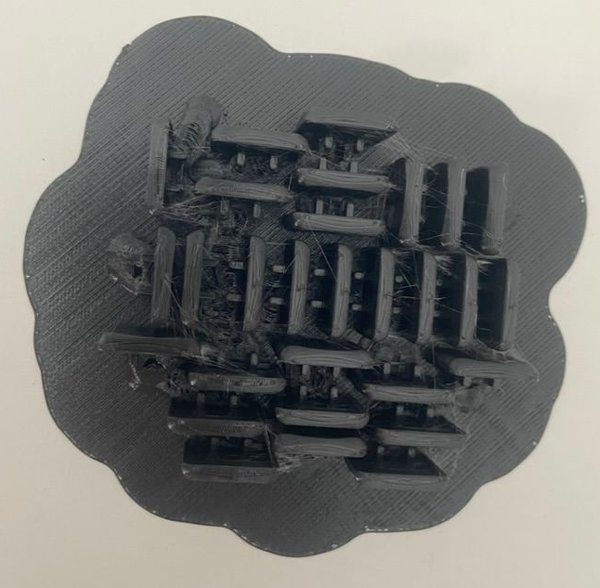
This keyboard is a coalescence of the left and right parts of the corne keyboard (a split keyboard). I preferred a single body for this layout. Since this is a custom keyboard, I needed to design the plate by myself. I found this 3D file from Thingiverse, and I merged them and filled the spaces on Tinkercad.
After a long tussling over, the final result was this:
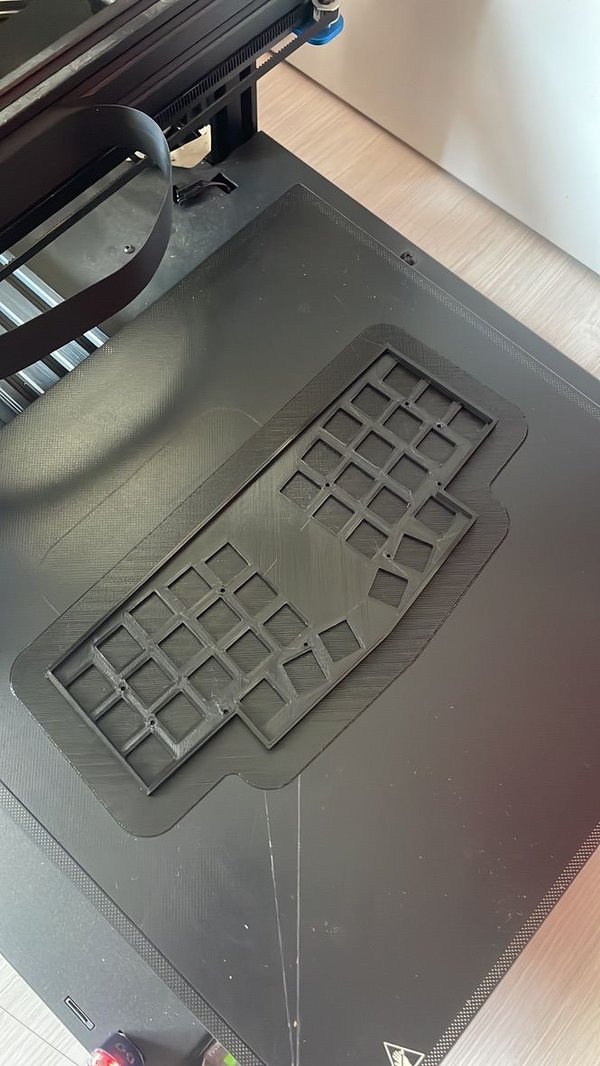
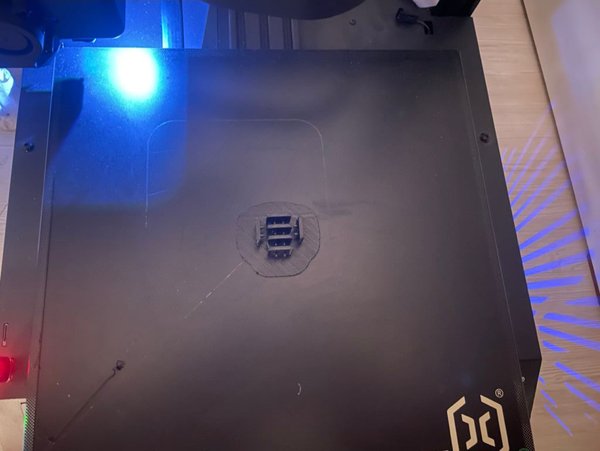
Then I printed the plate with my Artillery Sidewinder-x2 3D printer.
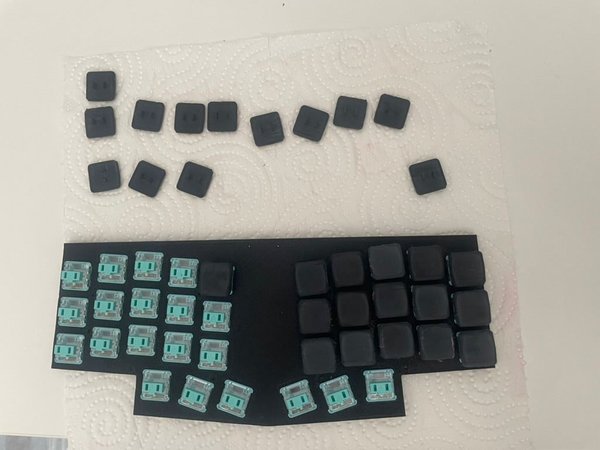
I used Kailh Choc Robin switches.
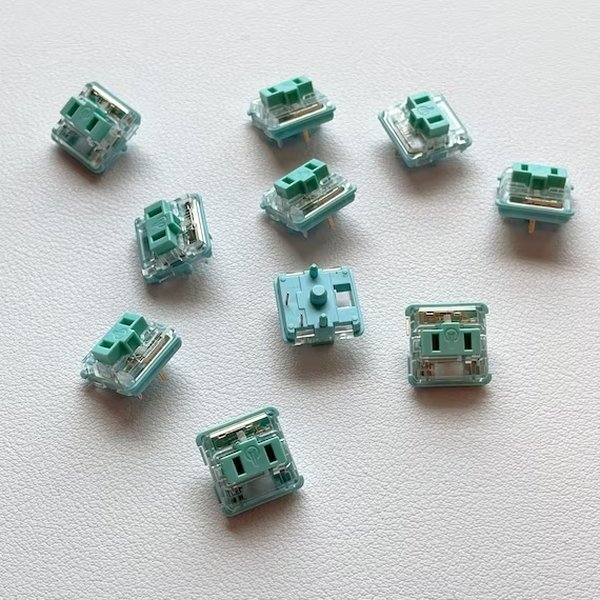
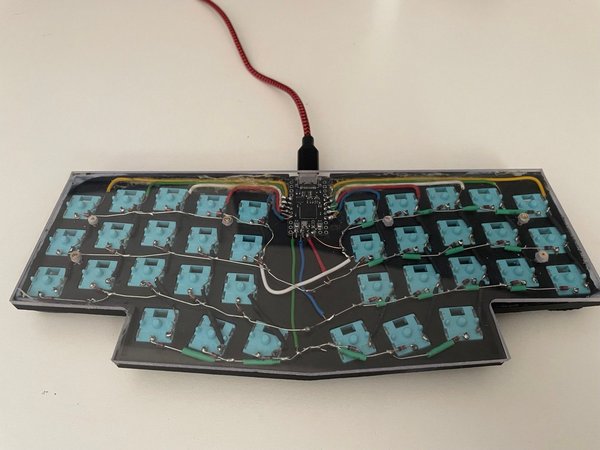
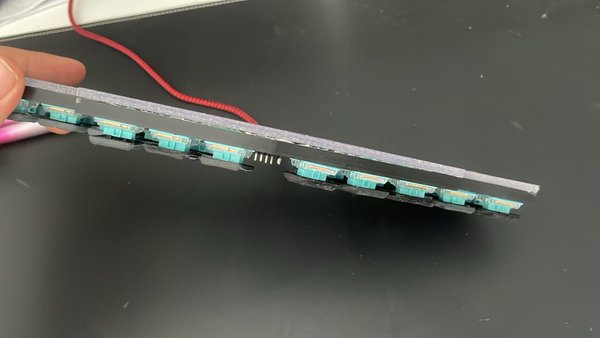
When I put all the switches into the plate, it looked like this:

As you can see here, on the back, each switch has 2 metal pins. Basically, what I needed to do was, connect the switch pins by columns and rows.
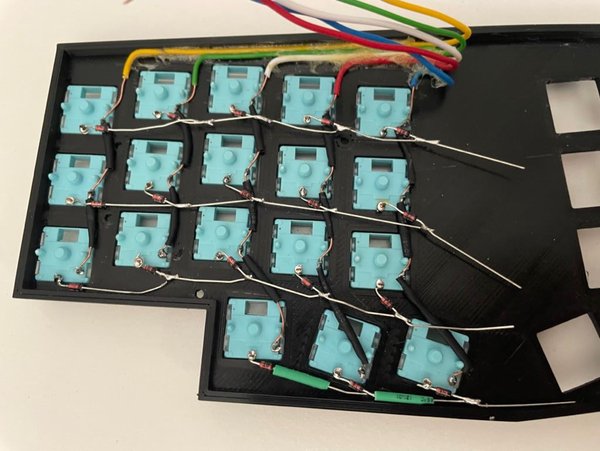
I started with columns. I glued wires as seen below:
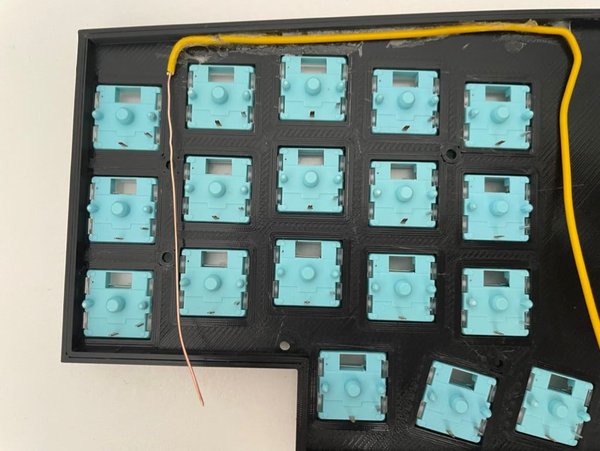
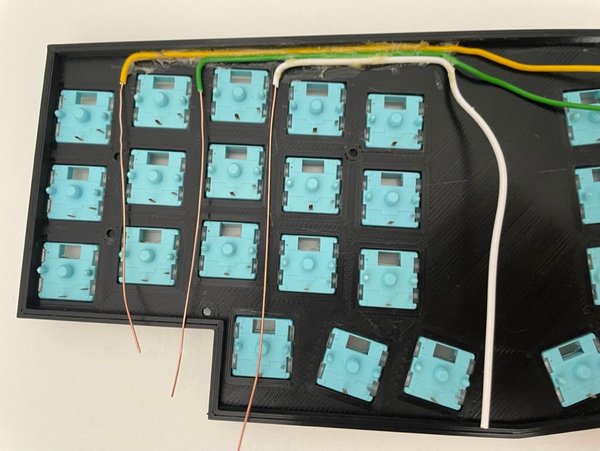
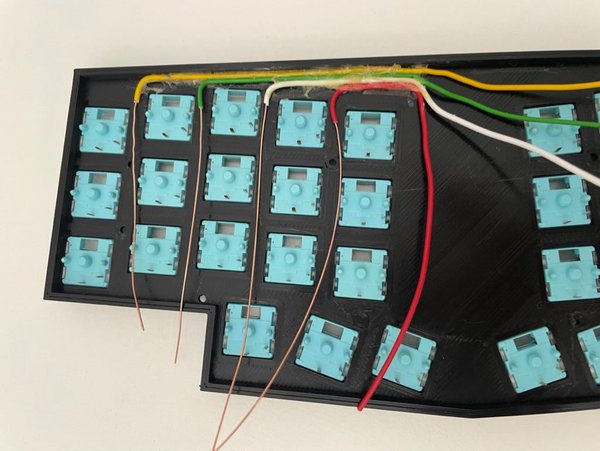
After placing the wire, I bent the wire to solder easily.
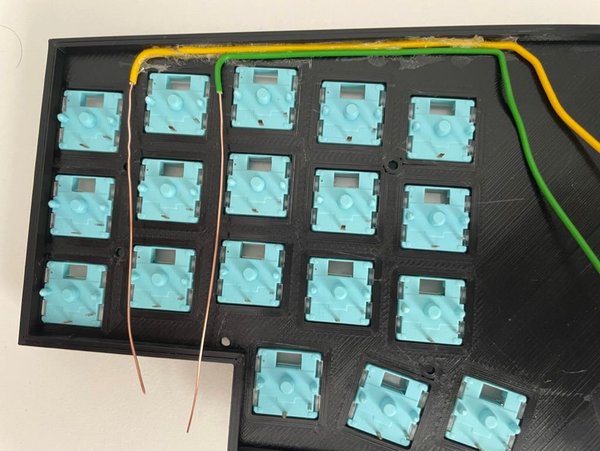
The heat shrink tubes are for preventing shorts on intersections of columns and rows.
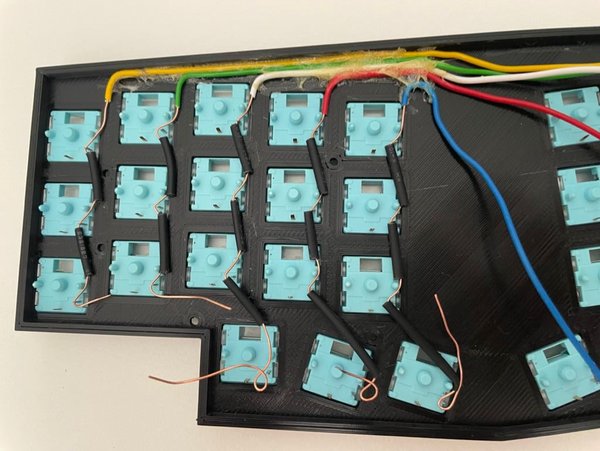
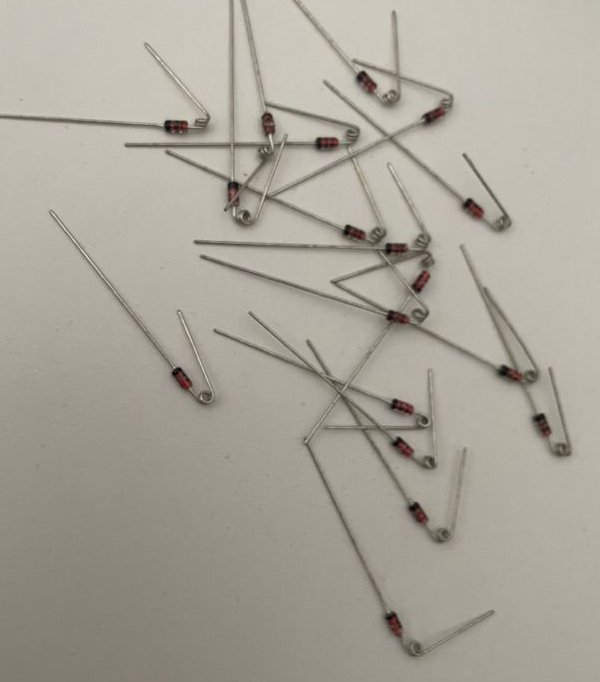
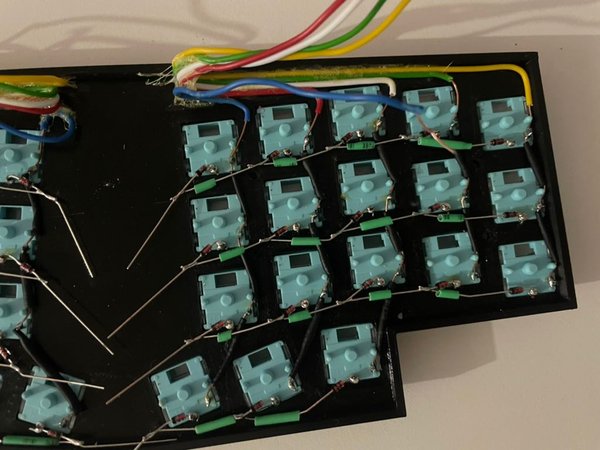
Then I prepared the diodes to connect the rows.
Why diodes? To prevent the shorts while pressing multiple keys at the same time.
I bent one leg of each diode. Because this makes soldering the diodes to the switches easier.
Huge thanks to my gorgeous wife. She did all the soldering.
After soldering the left half it looked like this:
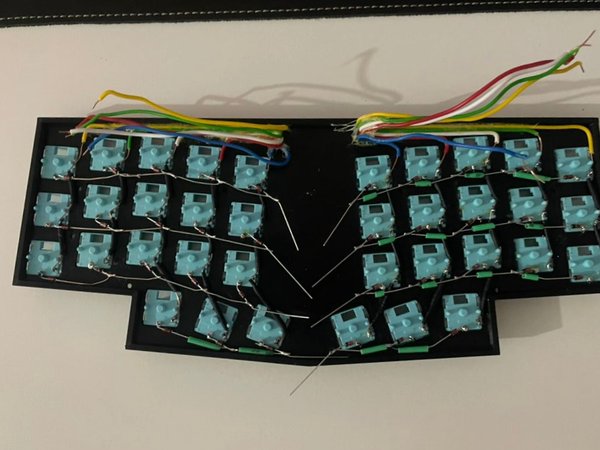
The same process was applied to the right half.
After soldering:
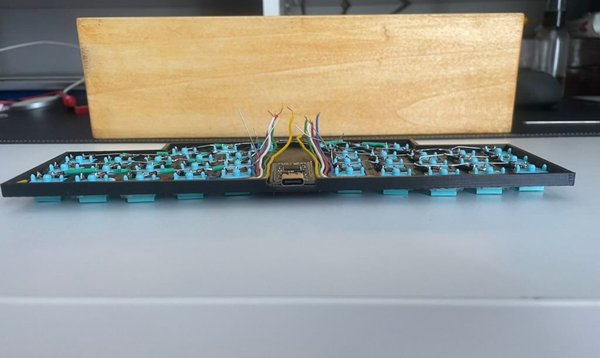
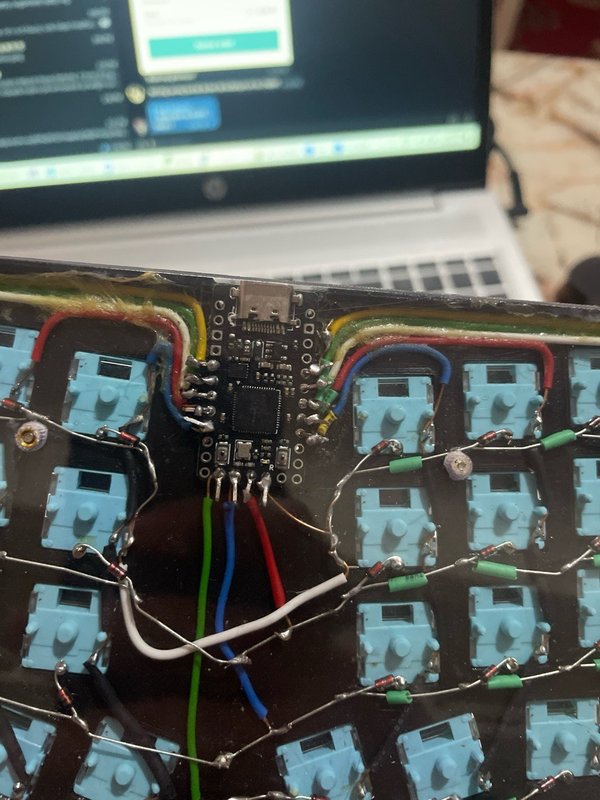
I needed to trim the printed case a little bit to place microcontroller.
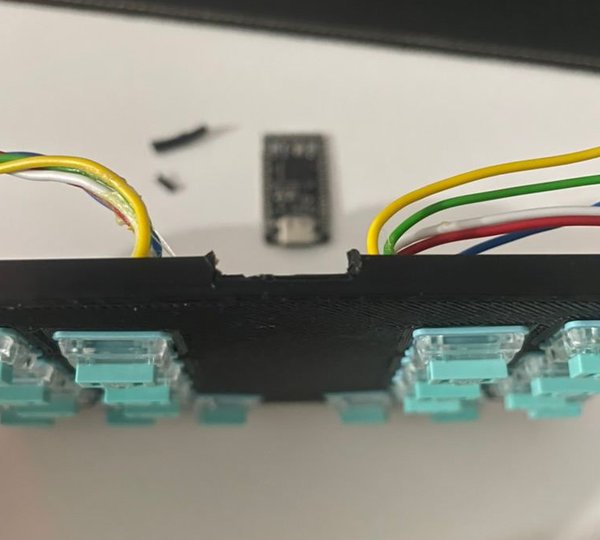
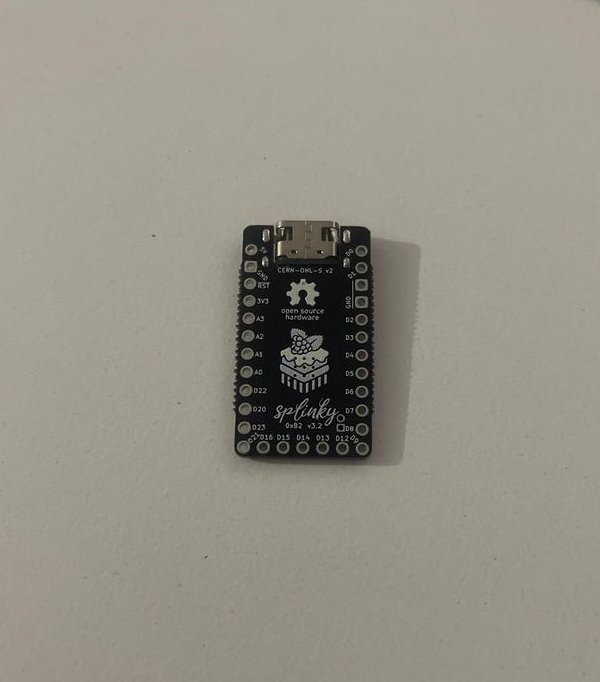
I used a splinky microcontroller for this keyboard.
Splinky is a Pro-Micro/Elite-C replacement with USB-C and RP2040
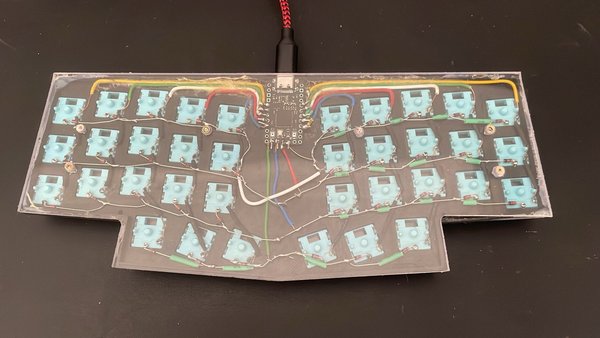
After attaching the microcontroller to the board:
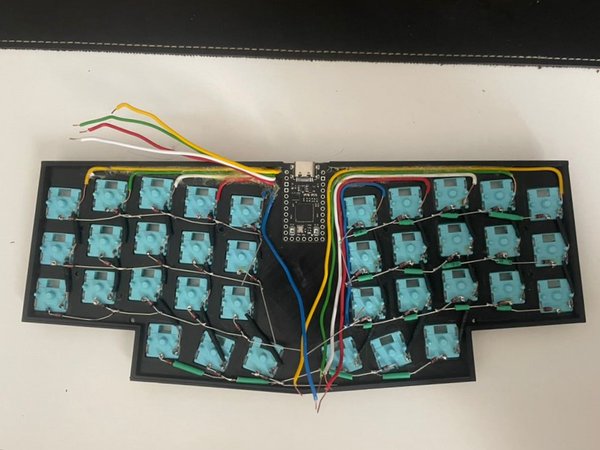
Huge shout out to my wife again, she soldered all the wires to the microcontroller.
Let’s talk about keycaps. I printed this.
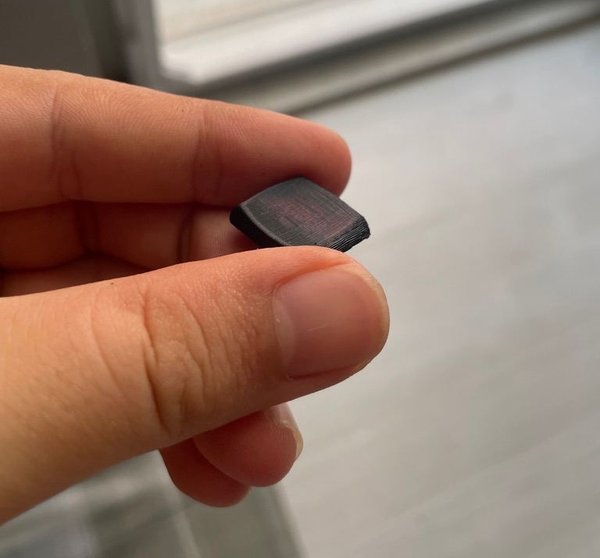
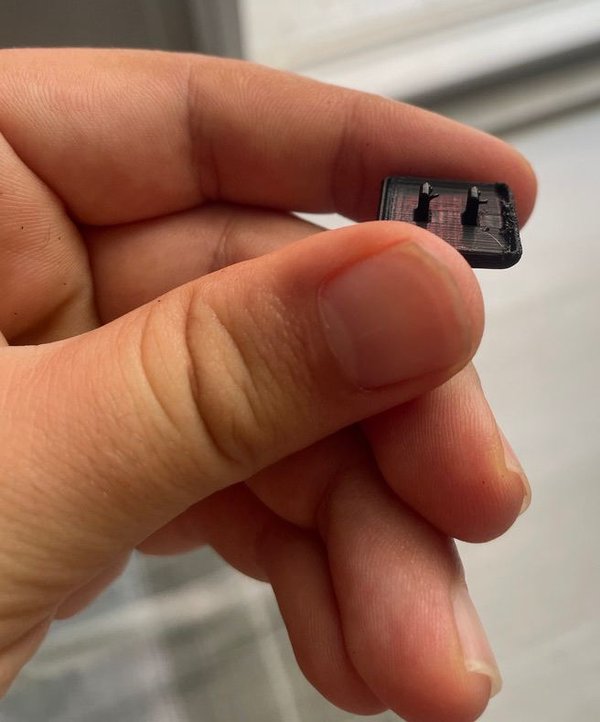
As you can see above, there are some burrs on the keycaps. I soaked them in nail polish remover to remove the burrs for a night.

It also softened the keycaps a bit. I did not quite like that result. But not bad.
After a while, I took the keycaps out of nail polish remover. Then I mounted them onto switches.
After mounting all the keycaps, only the back case was left to finish.
A friend of mine helped me with this. He cut a plexiglass to the exact measurements.
I hope it is helpful and/or fun to read. Thanks for your readership.
Said